
Inserting PDFs into PowerPoint slides can help to keep presentations short and precise. The speaker can use a PDF document as supporting material for the slide show. The PDF builds on any further information about your presentation. This guide shows you how to add a PDF file to all PowerPoint versions.
Inserting a PDF into a slide
While you cannot insert an entire PDF document into your PowerPoint presentation, you can represent the PDF as a clickable screenshot or object. After clicking on it, the user will be directed to the complete PDF document.
Method 1: Insert a screenshot of the PDF
- Open the PDF file and scroll to the page you would like to insert into PowerPoint.
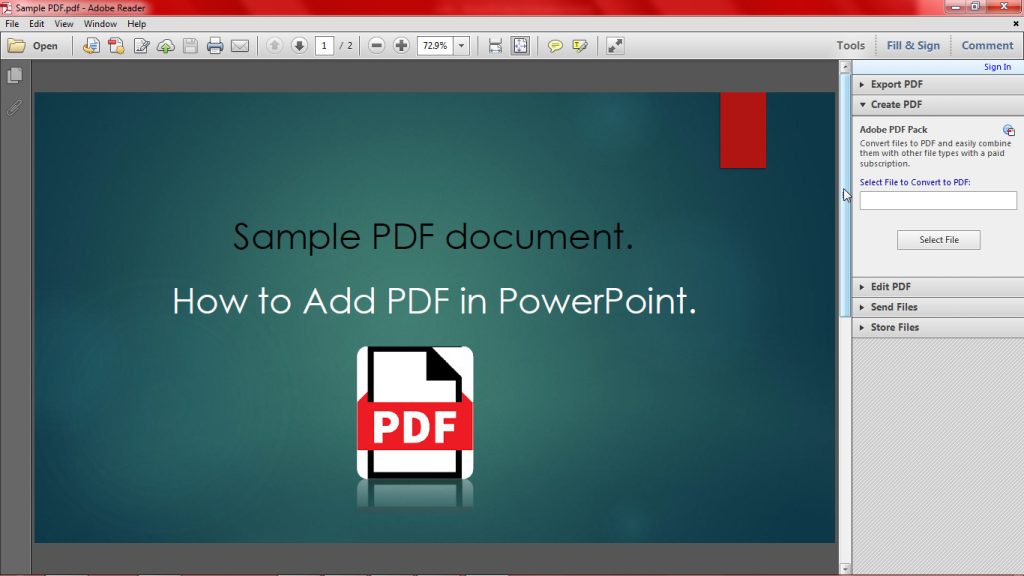
Open a Page in the PDF and leave it open. - Leave the page open and go back to PowerPoint. Select a slide and click on the Insert tab.
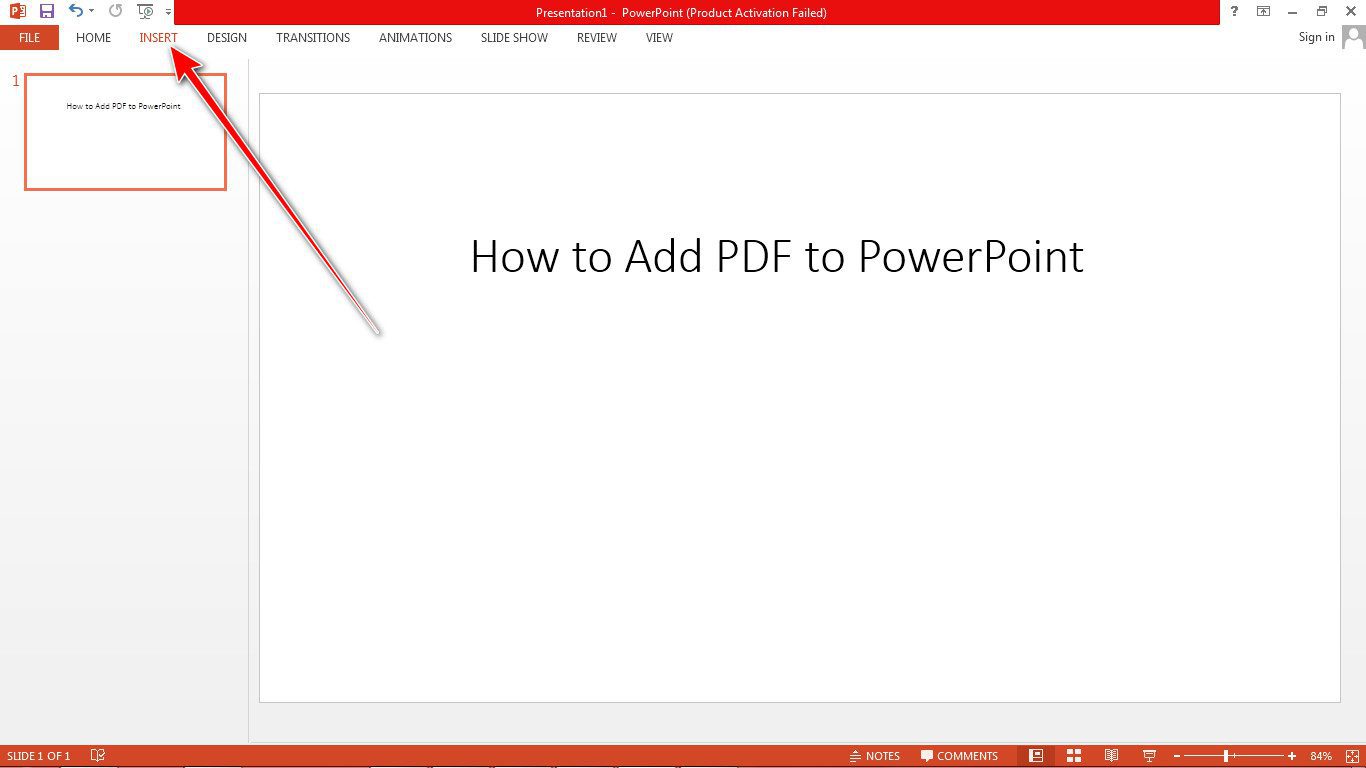
Click Insert Tab to access more tools. - Click Screenshot in the “Images” section.
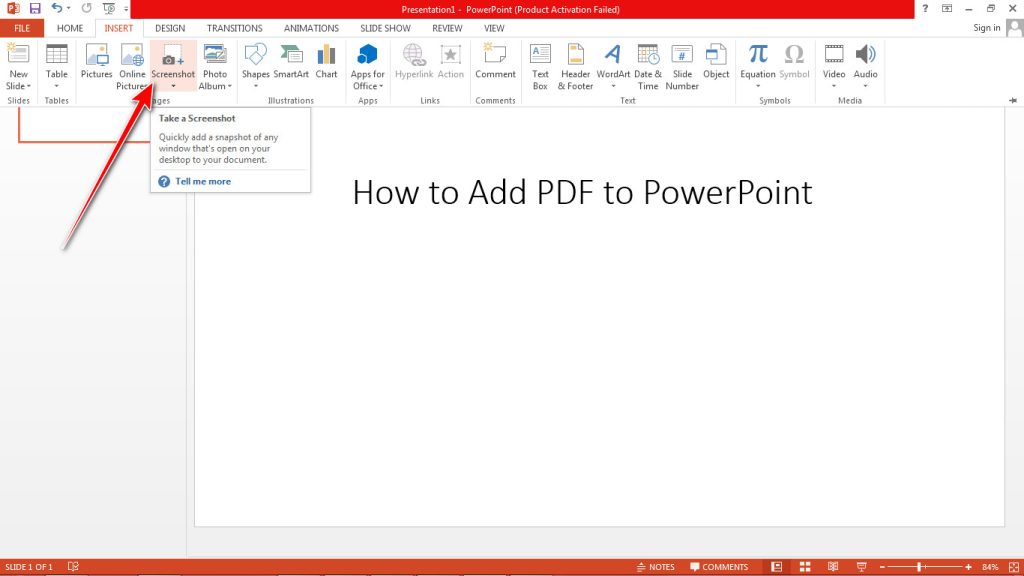
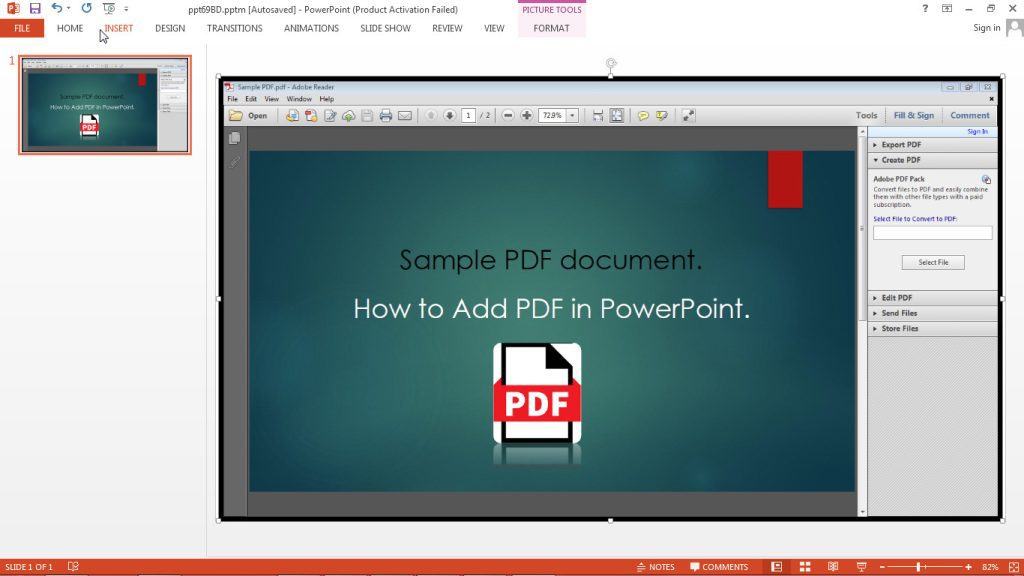
This tool will take a screenshot of the previously opened window on your computer. - The PDF page will appear as the first image under “Available Windows”.
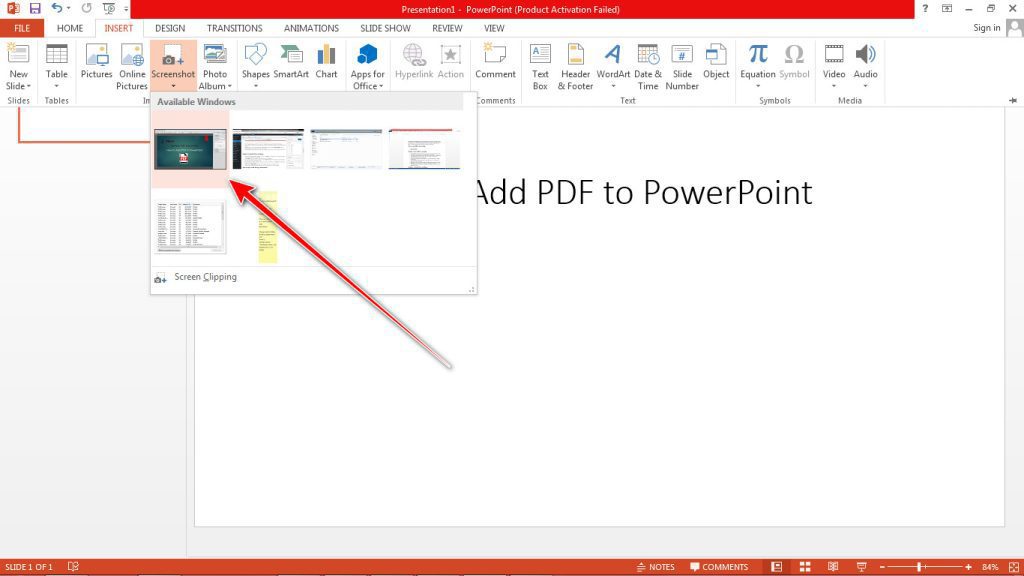
Identify the PDF Image. - Click the image to insert the full screenshot of the PDF window into the PowerPoint slide.
Notice that the image needs to be cropped. - Alternatively, you can select Screen Clipping to crop the image.
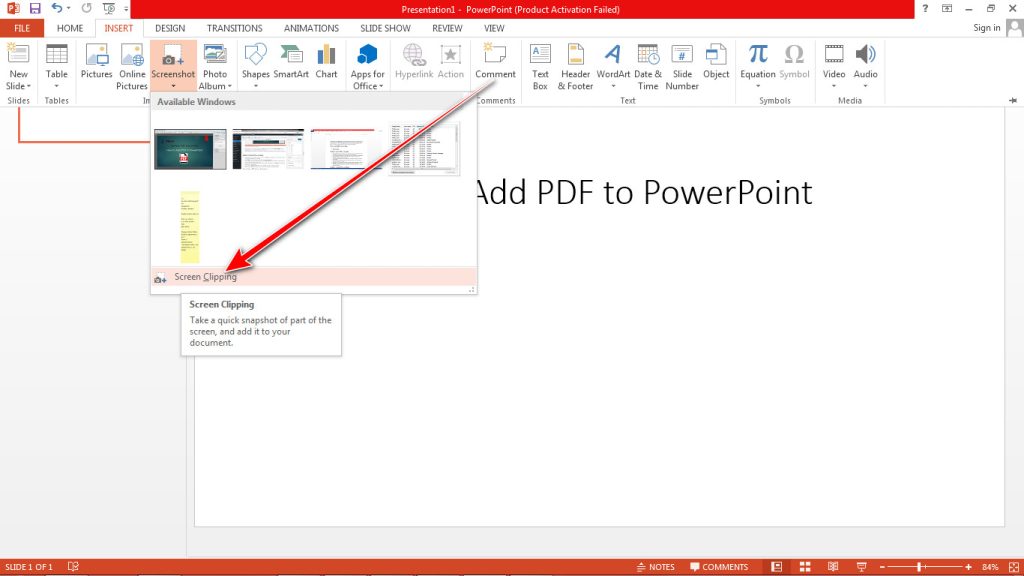
Screen Clipping allows you to select the needed part of the image. - Click and drag the Cross pointer to crop the image.
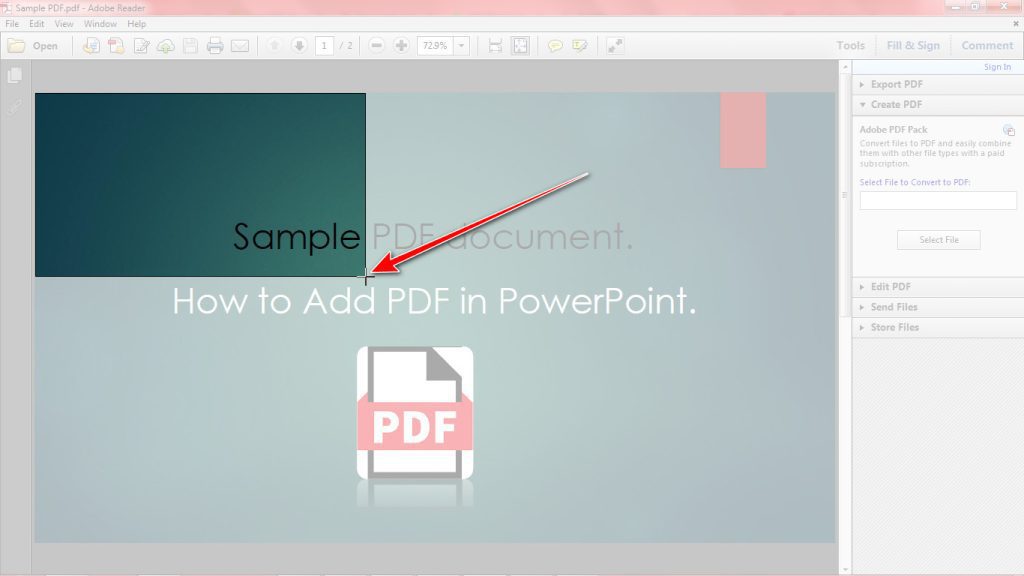
Click, drag, and release to insert the image in PowerPoint. - The cropped image of the PDF will appear on the slide.
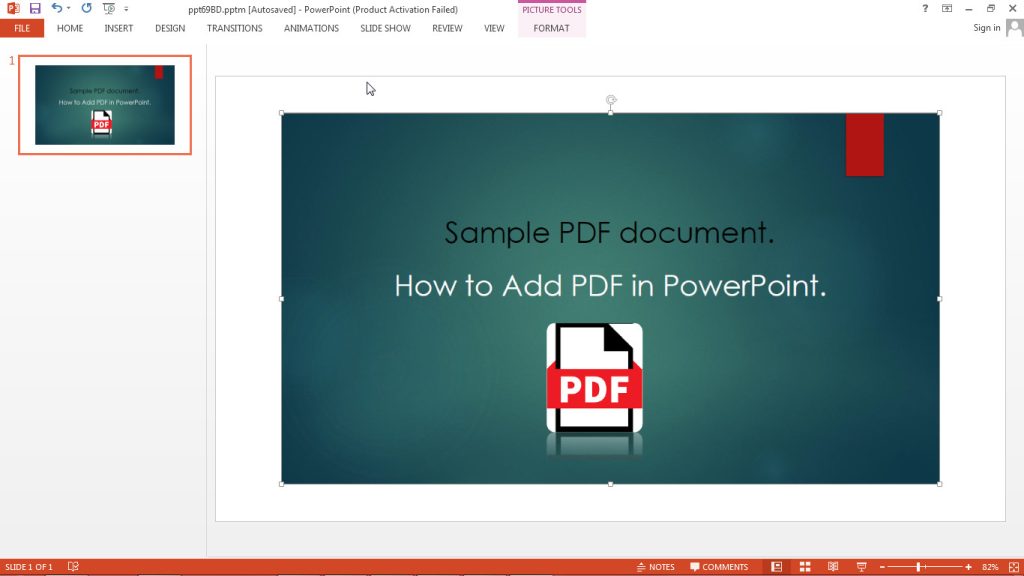
The Image is added to the slide.
Method 2: Attach PDF as an Object
When a PDF document is added as an object in PowerPoint, it only displays the document’s cover page. The advantage of this option is that the cover page retains its visual quality when inserted into PowerPoint. Follow these steps to insert PDF as an object in PowerPoint:
- Select the slide you would like to attach as a PDF. Then Click Insert on the Ribbon bar.

The insert tab contains various tools for adding items to the slide. - Select the Object tool in the “Text” category.
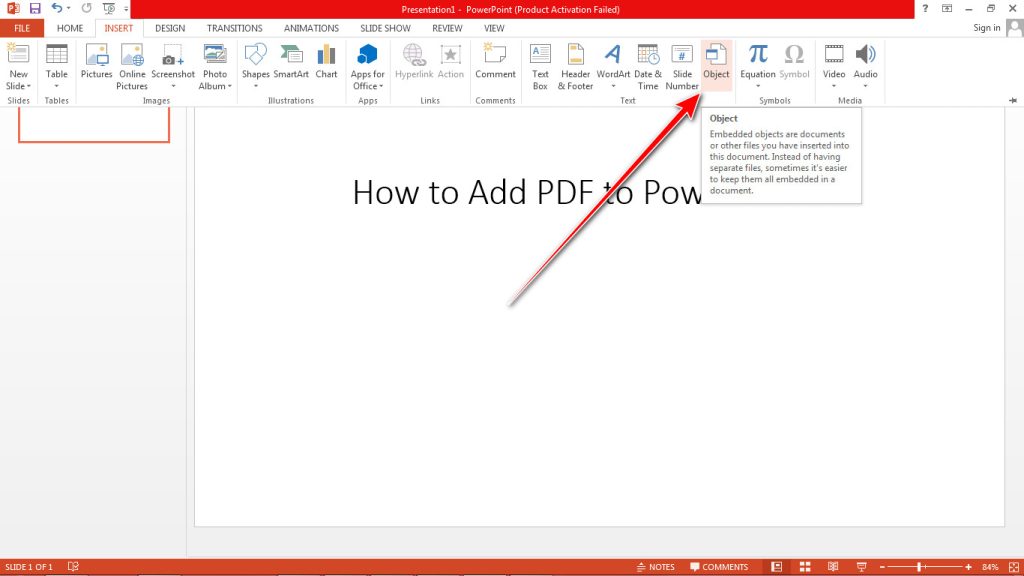
Click Object to launch a dialogue box. - Select the option Create from file in the “Insert Object” dialogue box. Then click Browse.
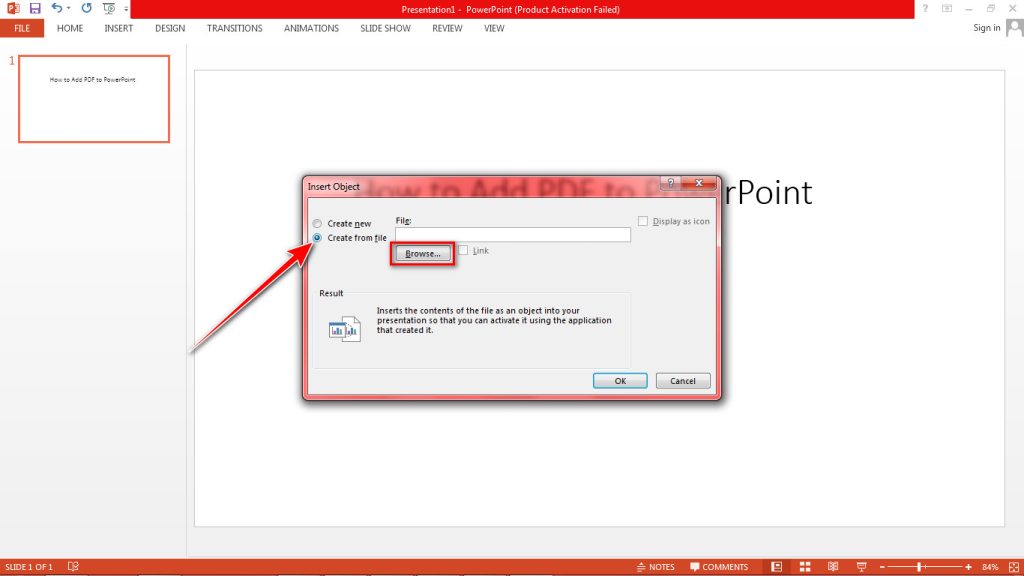
Click Create from file to be able to upload an existing PDF file. - Select the PDF file in the Windows Explorer that popped up. Click OK.

This window will import the PDF into PowerPoint. - The cover page of the PDF will be visible on the slide. Resize and move it to your preferred location on the slide.
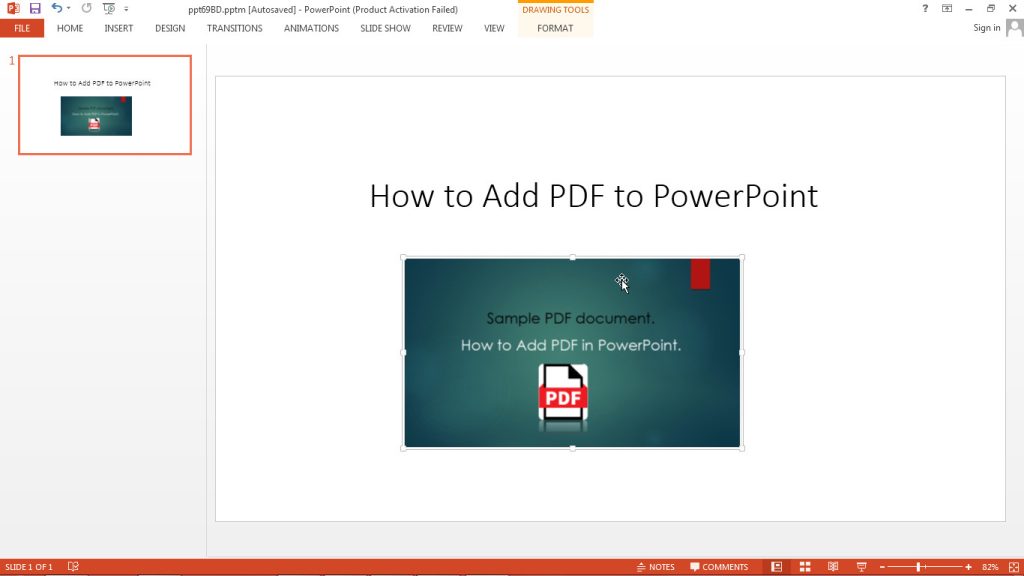
The PDF file is attached as an object. You can also display the PDF as an icon
- Select the Display as icon checkbox, then click OK.
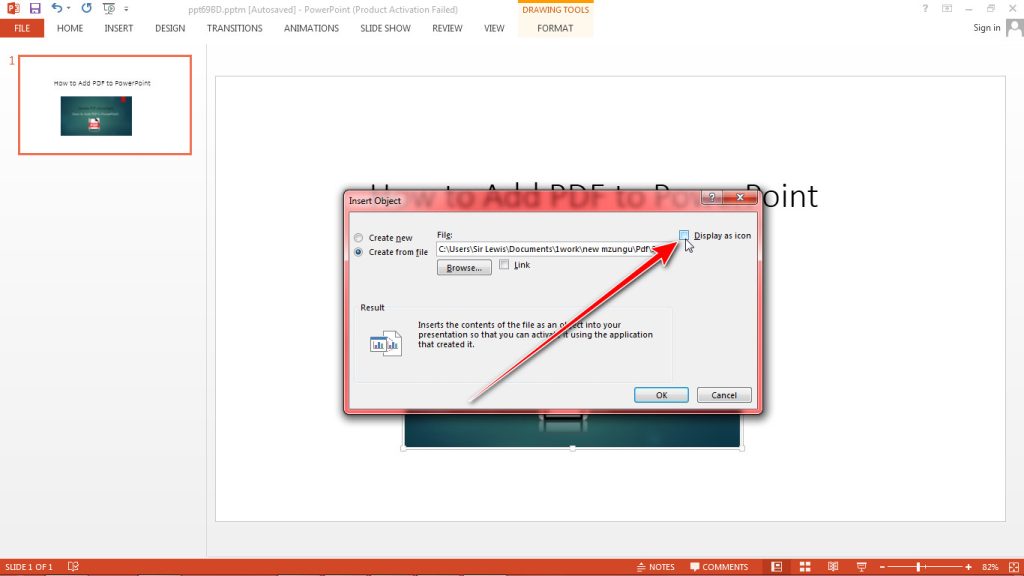
Click OK to complete the process. - The PDF will be attached to the slide as an icon.
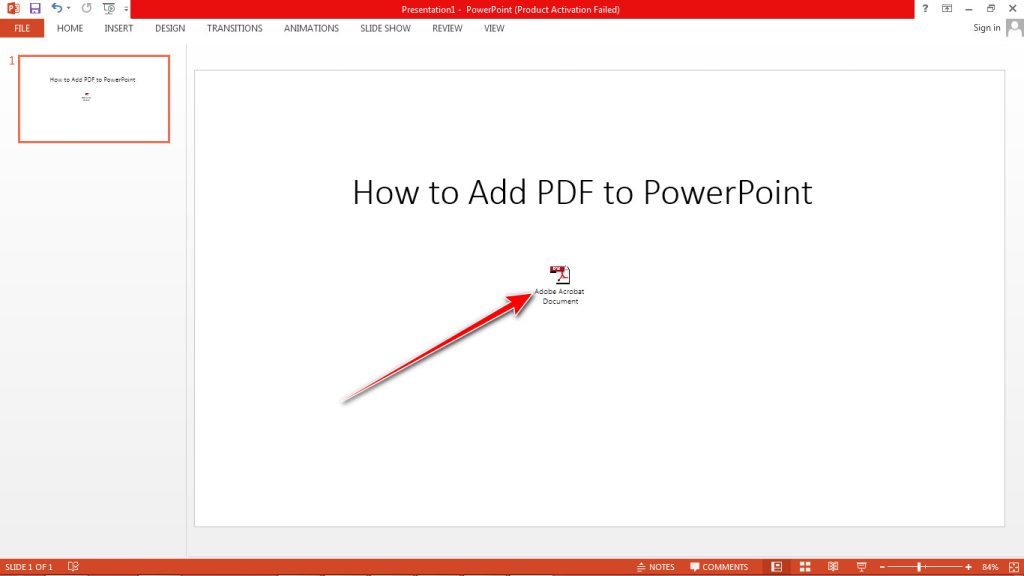
The icon is movable to any part of the slide.
How to Open a PDF during a presentation
An action is added to an object to perform a specific task. In this instance, the Open action allows PDF files in PowerPoint to open using adobe reader during a presentation. To apply this action to the PDF file, follow these steps:
- Select the PDF file and click the Insert tab.
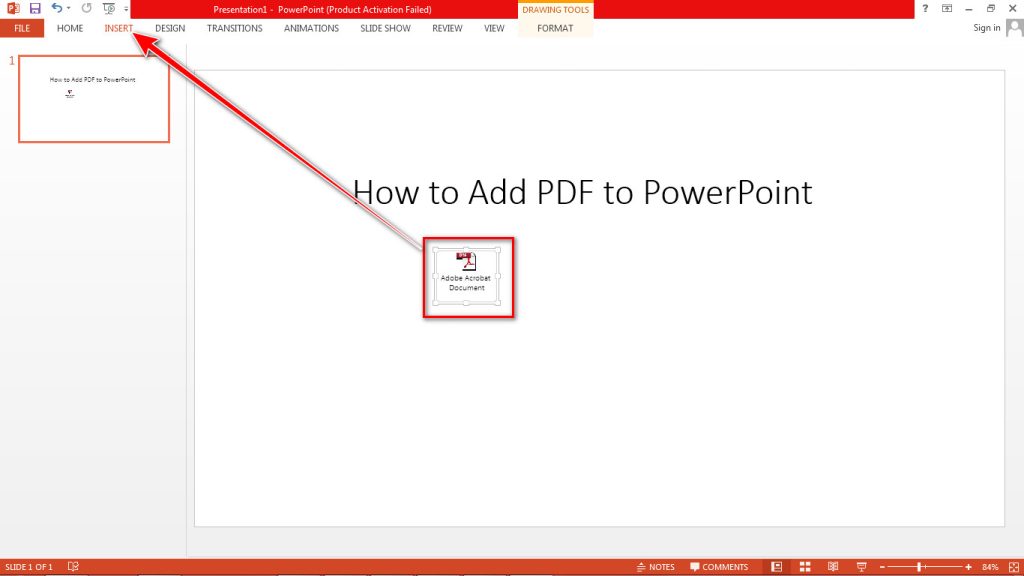
Click Insert if you’re on another tab. - Select the Action tool in the “Links” section.

Click Action to add a command to the PDF file. - The “Action Settings” dialogue box will appear. Click the Object Action option, then click OK.
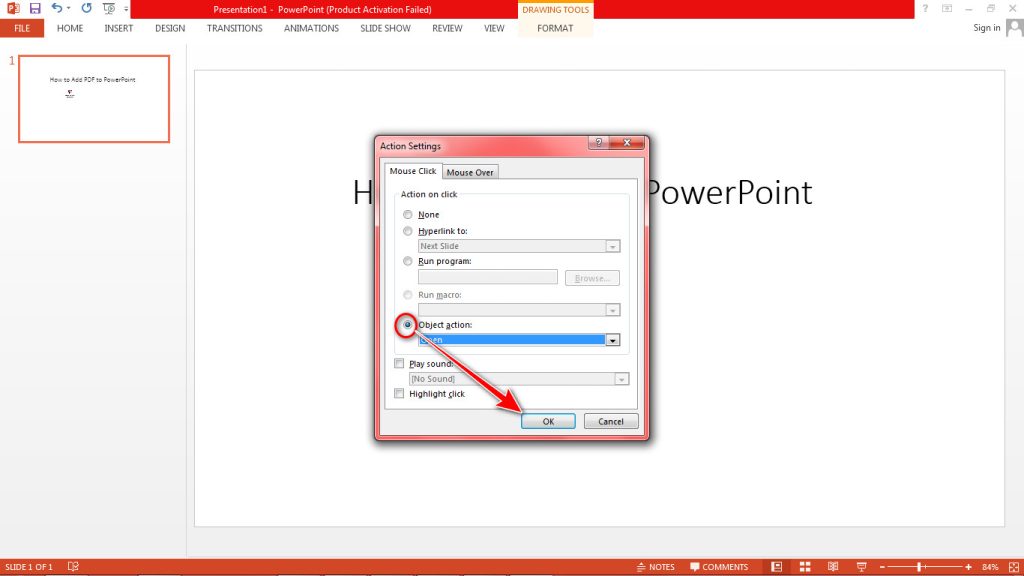
This tool allows PDFs to be launched during a presentation. - Start the presentation to preview the PDF document. Press F5 or click on the start slide show icon.
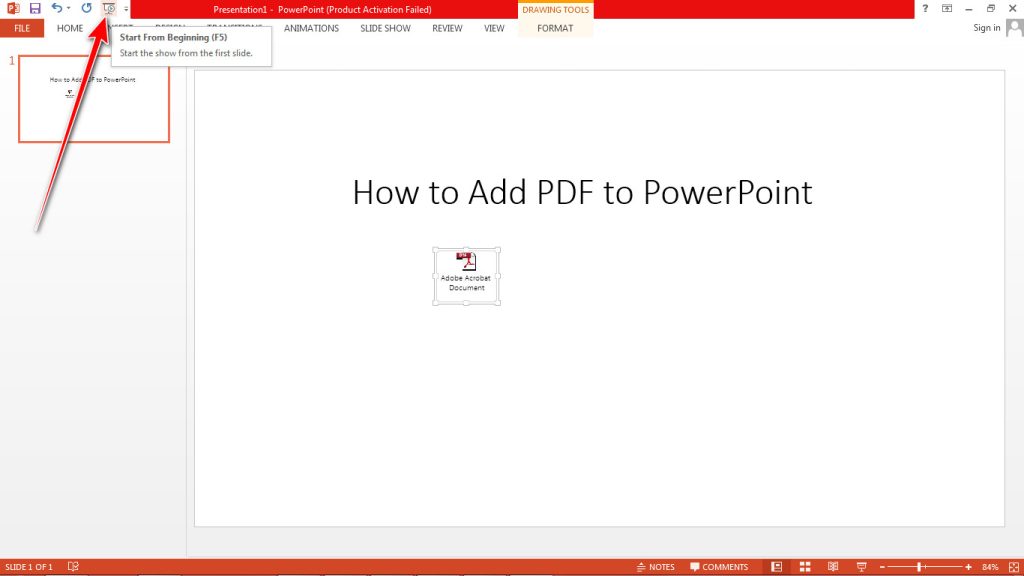
Click the icon to start the slide show. - Once the slide show starts, place the cursor over the PDF and notice that the cursor changes from an arrow to a pointing finger cursor. Click to open the PDF.
Click to open the PDF.